
Filter & Maintenance
Regular filter care and proper maintenance can help keep your Aero Air purifier operating as intended. Simple maintenance practices can support consistent indoor air care and help protect the filtration system.
Keep the air inlet and outlet clear, inspect the filter regularly and follow the maintenance and replacement instructions provided for your specific Aero Air model.
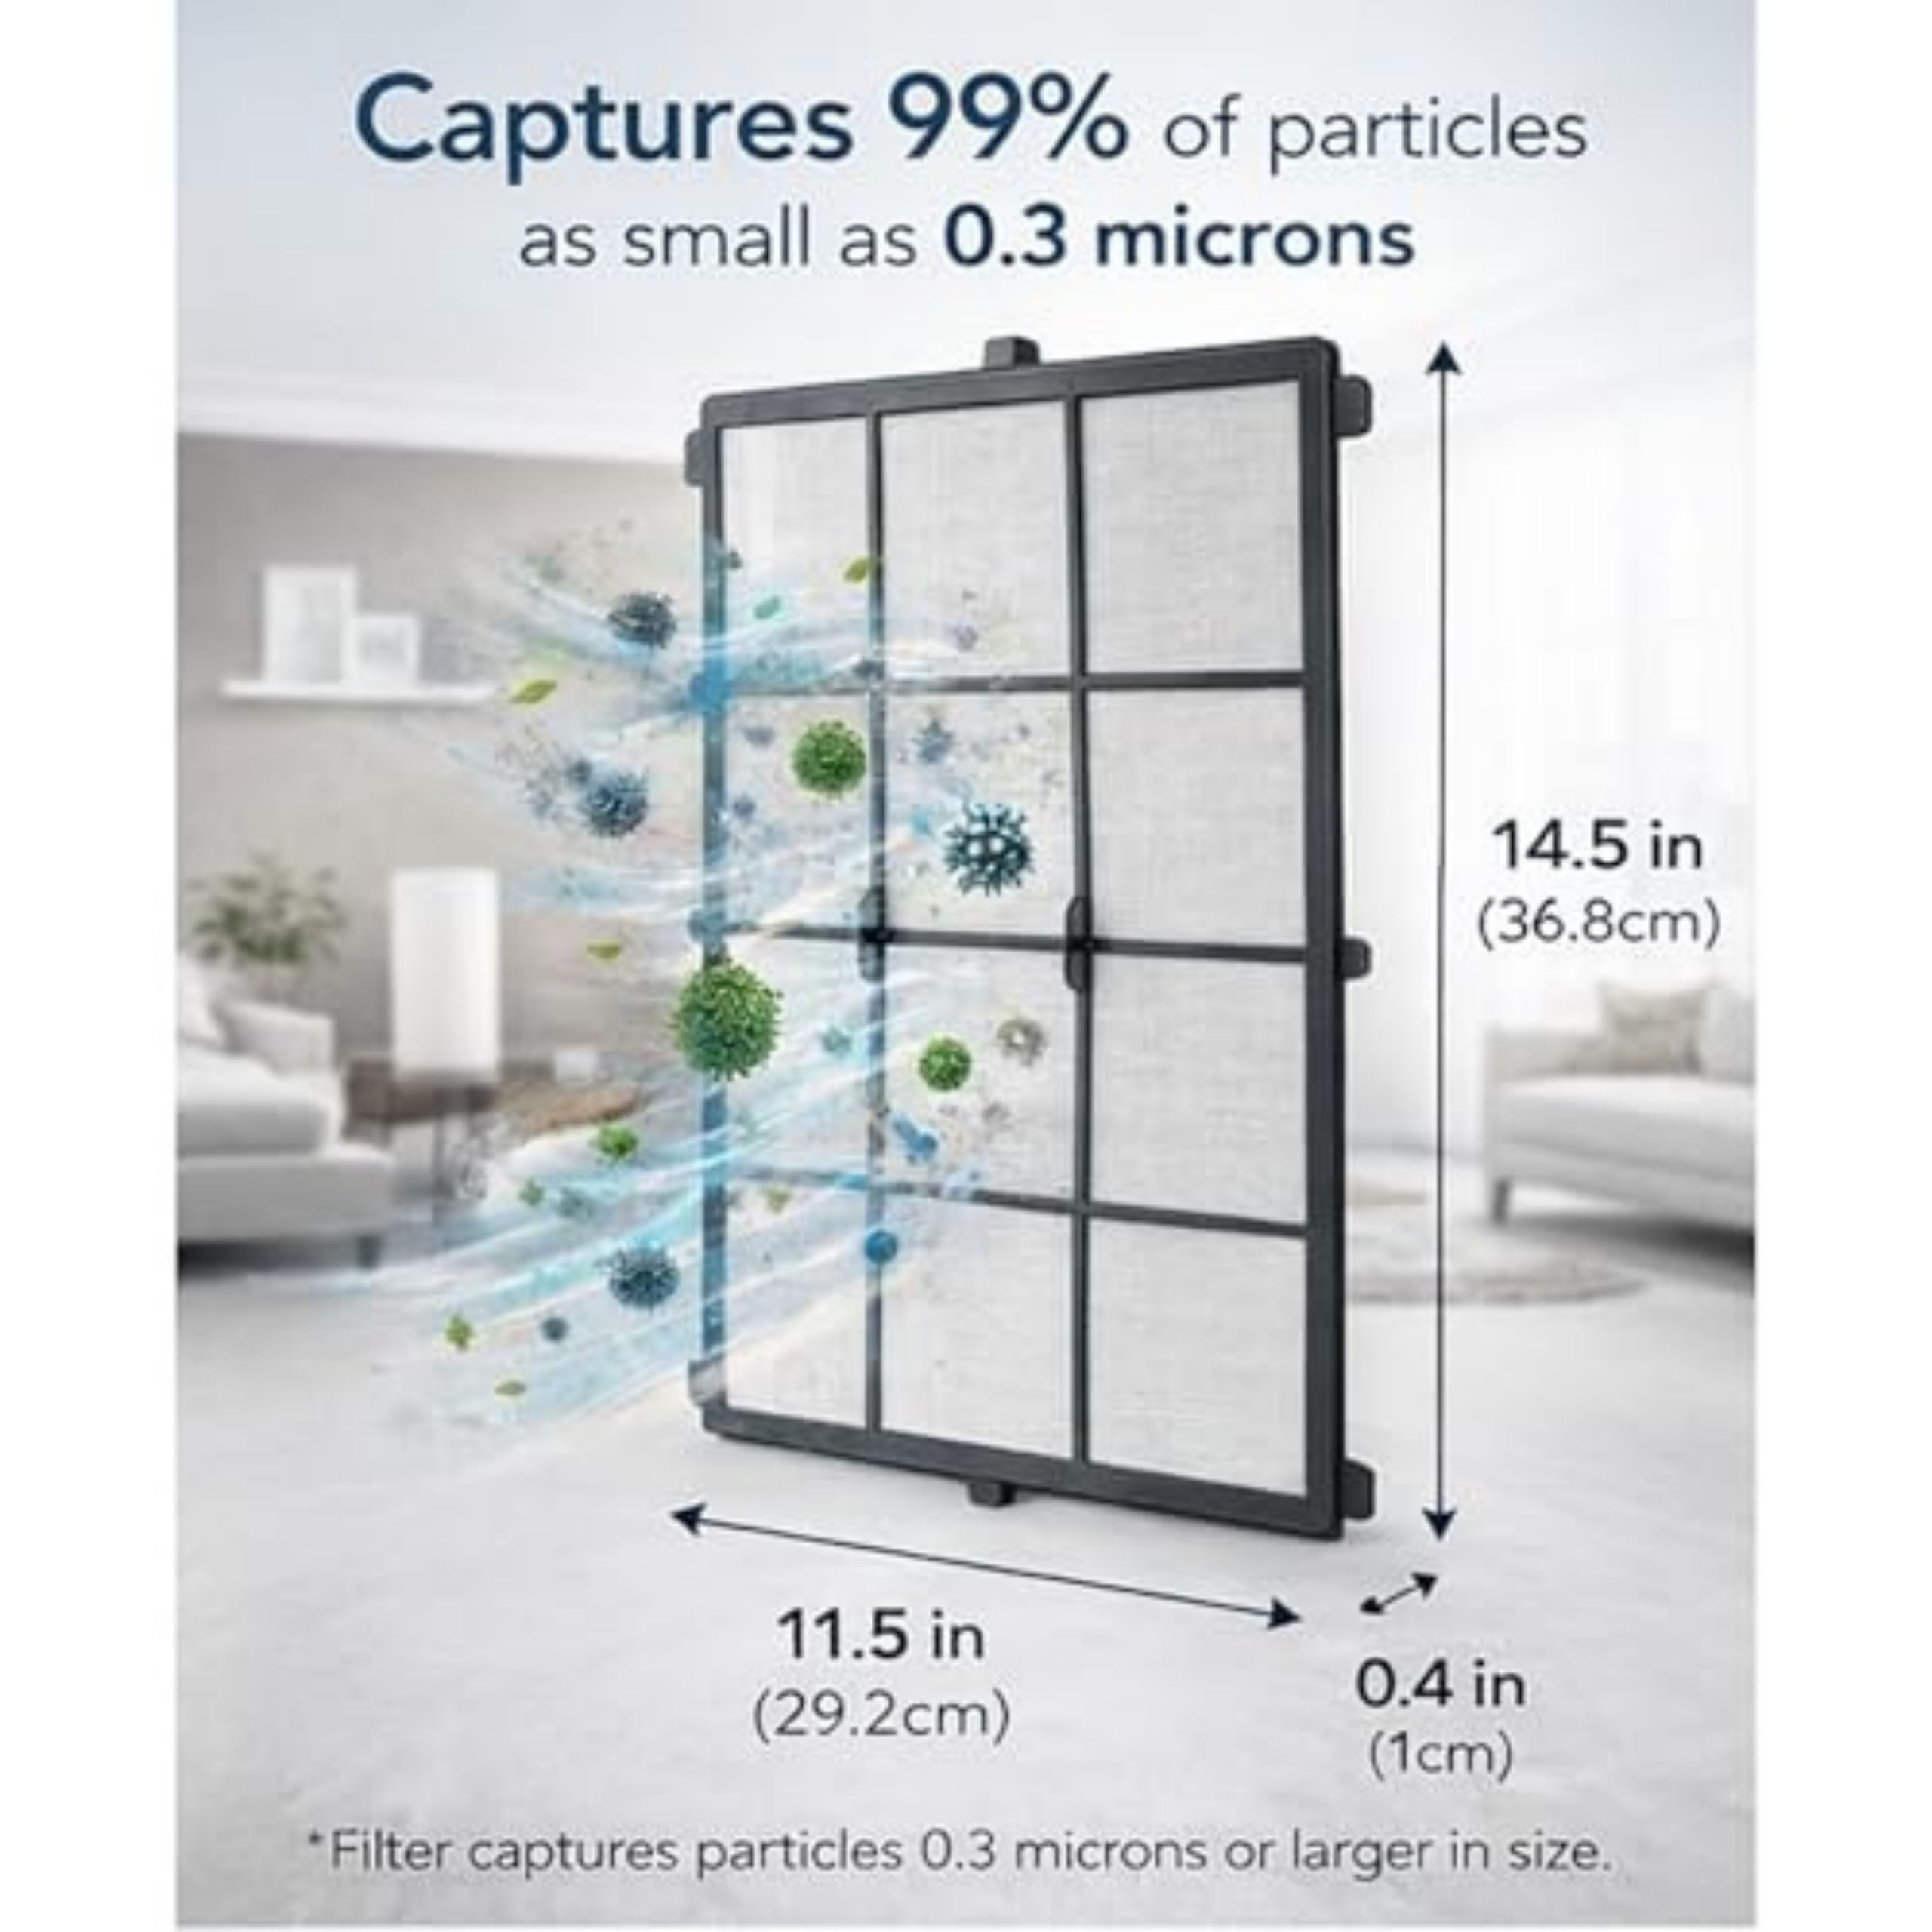
Multi-Stage Air Filtration
Different filtration stages can serve different purposes. The exact filter configuration depends on the Aero Air model.
Pre-Filter
The pre-filter helps capture larger airborne particles such as dust, hair and visible debris before air reaches finer filtration stages.
HEPA Filter
The HEPA filtration stage is designed to capture fine airborne particles. Filter maintenance should be carried out according to the instructions for the specific model.
Activated Carbon
Activated carbon filtration is commonly used to help address certain odours and gaseous pollutants. Replacement timing varies with usage and indoor conditions.
How to Maintain Your Air Purifier
Follow a simple maintenance routine and always refer to the instructions supplied with your specific purifier model.
Switch Off
Turn off and unplug the purifier before cleaning, inspecting or servicing the unit.
Clean the Exterior
Use a soft, dry or lightly damp cloth to clean the exterior and remove accumulated dust.
Check the Filter
Inspect the filter periodically for visible dust build-up or signs that the filter needs attention.
Replace When Required
Replace the filter according to the model’s manual, filter indicator or applicable usage conditions.
When Should You Replace the Filter?
Look for These Signs
Filter life can vary depending on the purifier model, operating hours, indoor pollution, dust levels and environmental conditions.
- Filter replacement indicator is activated.
- Filter appears heavily loaded with dust.
- Recommended service or replacement period has been reached.
- Airflow appears restricted despite normal operation and a clean exterior.
Do not assume one fixed replacement interval applies to every Aero Air model. Always check the product manual and model-specific instructions for the correct filter type and replacement schedule.
Maintenance Do’s & Don’ts
✓ Maintenance Do’s
- Keep air inlet and outlet areas unobstructed.
- Check the filter periodically.
- Clean the exterior regularly.
- Follow the instructions for your exact model.
- Use the recommended replacement filter.
× Maintenance Don’ts
- Do not operate the unit with damaged filters.
- Do not block the air inlet or outlet.
- Do not use water on electrical components.
- Do not force or damage filter components.
- Do not ignore a filter replacement alert.
Model-specific information: Filter construction, cleaning method, replacement interval and maintenance requirements can vary by Aero Air model. Always refer to the user manual or product-specific instructions before performing maintenance.
Clean Filter. Better Air Care.
Regular filter inspection, correct maintenance and timely replacement can help support the intended operation of your air purifier. Always follow the instructions for your specific Aero Air model.
AIR